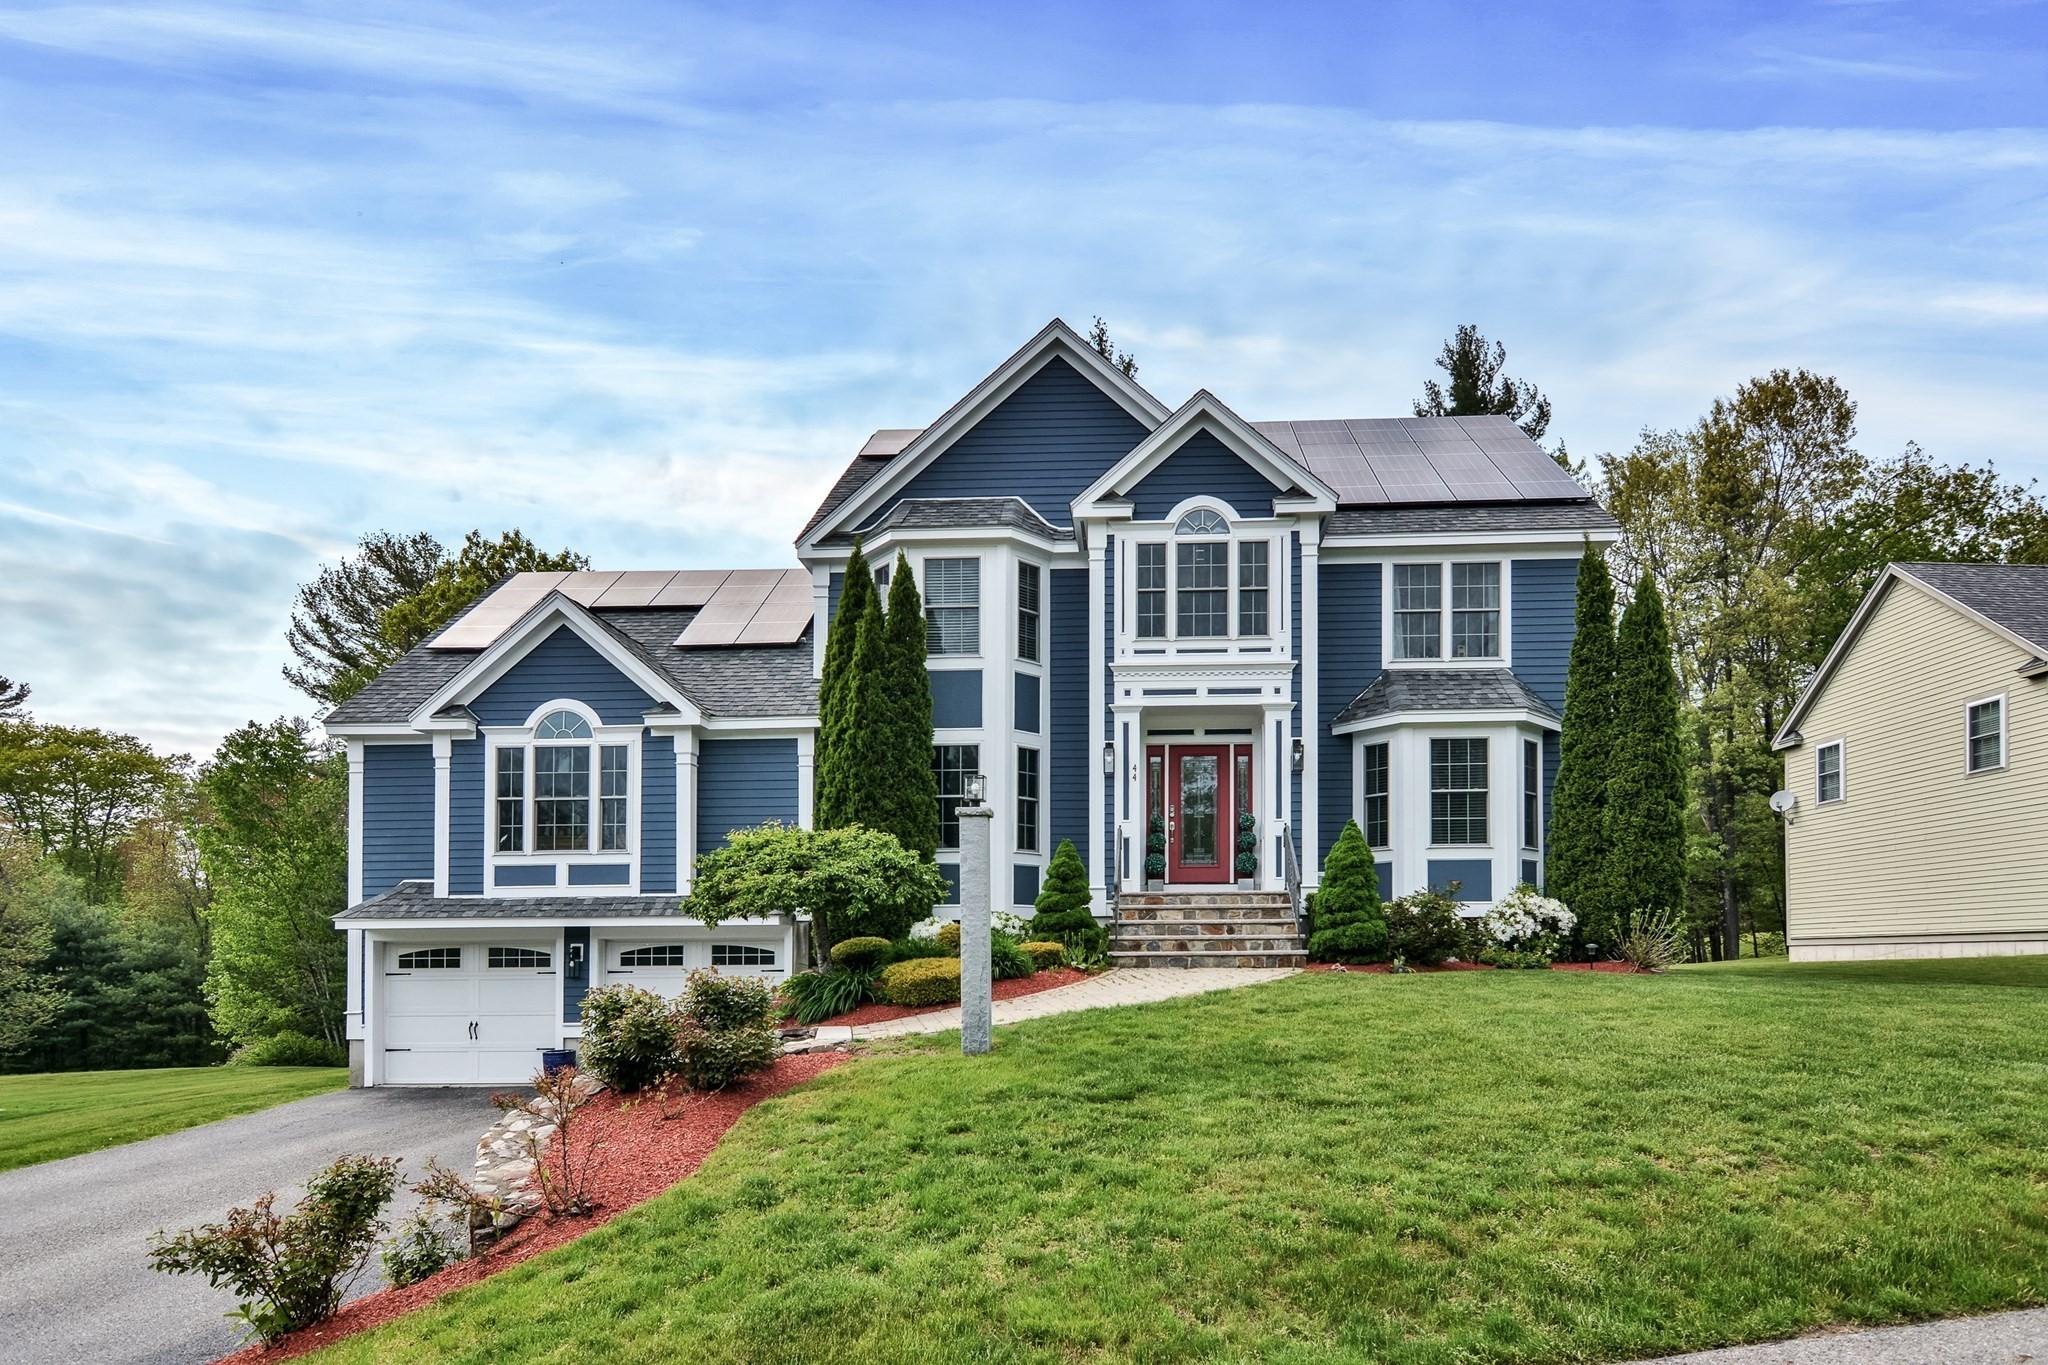

Today’s buyers start their search online, and your listing photos are their first impression of your home. If the photos don’t catch a buyer’s eye right away, they’ll scroll right past. Great photos show off your home’s condition and best features and make buyers want to see it in person.

Part 1: Stage Your Home for the Camera
1. Clear the clutter. Pack up personal items, collections and anything you don’t use. Fewer things on counters, shelves and floors let your home’s features stand out. Move large or extra furniture to another room or into storage so rooms look open.
2. Arrange furniture to make rooms feel bigger. It’s tempting to push everything against the walls, but that can make a room feel smaller and less inviting. Group furniture into a cozy conversation area instead.
3. Brighten with paint. A fresh coat of neutral paint brightens a room and helps buyers picture themselves living there.
4. Freshen up window treatments. Dusty curtains and blinds make rooms look darker. Clean them, or replace them with simple, inexpensive ones.
5. Add a few finishing touches. Colorful throw pillows, a throw blanket over the sofa or a vase of fresh flowers can make a room feel warm and lived in without looking cluttered. On a front porch, a chair and small table create an inviting scene.
6. Keep it timeless. Photos can stay online for the whole time your home is on the market, so skip seasonal decorations. If you’re listing around Halloween, for example, put the pumpkins and scarecrows away for the shoot.
7. Don’t forget the outside. Mow and trim, put away toys, hoses and lawn ornaments, clean the windows, and clear the walkway and driveway.
Part 2: Set Up the Perfect Shot
1. Use the best light. Morning and late afternoon usually give the best natural light. East-facing homes photograph best in the morning, and west-facing homes in the afternoon. Turn on every interior and exterior light, and use a mix of overhead lights and lamps so every room looks bright. For homes with great landscaping or outdoor lighting, a shot taken shortly after sunset can be stunning.
2. Shoot from multiple angles. Take more photos than you need, from different spots in each room and around the property, to capture the home’s best features. A higher vantage point, like a tripod or ladder, helps capture more of the exterior and yard.
3. Leave it to the pros. Every one of our listings is professionally photographed, so this part is handled for you. A professional real estate photographer has the equipment, skill and editing tools to show your home at its best. Your job is simply to get the home ready using the staging tips above.
Thinking of selling? Give us a call for a free market analysis, or for more tips on getting your home ready for its debut.
Home Selling Resources
| Complete Guide to Home Selling | Get a Free Consultation on Selling Your Home |
| 10 Tips to Selling Your Home | How to Prepare Your Home for Sale |
| Find Out What Your Home is Worth |
Home Buying Resources
| Search Homes For Sale Now | View Open House List |
| Home Buying Process – A Complete Guide | 7 Tips to Home Buyer Success |
| Free Home Buyer Consultation | Why You Need A Buyers Agent |